Introduction
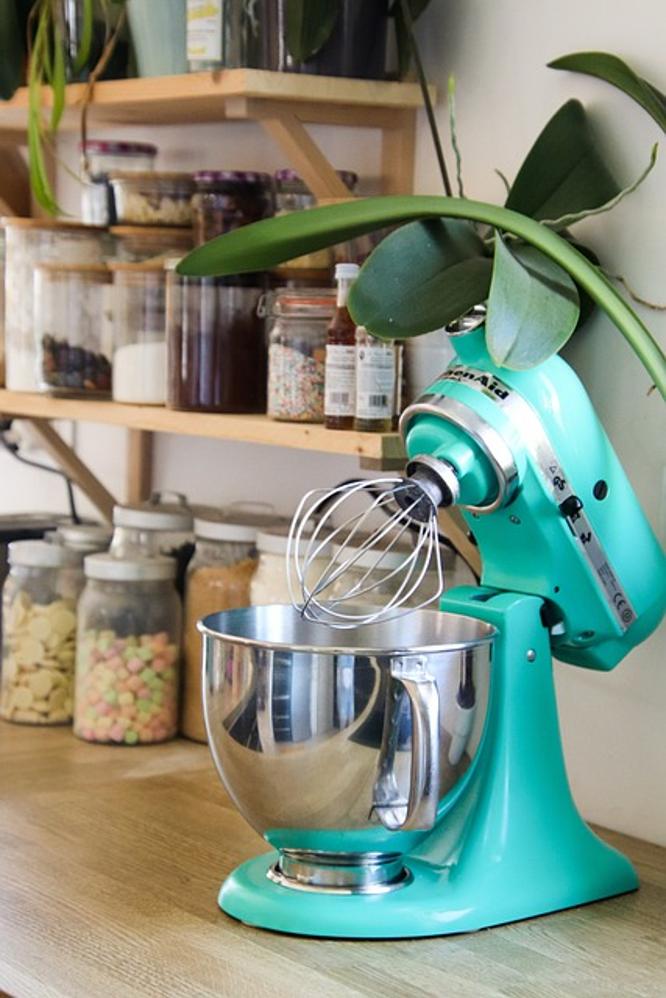
A KitchenAid mixer is a versatile and indispensable appliance in many kitchens. Over time, regular use can cause it to accumulate dust, food particles, and wear down internal components. To keep your mixer in peak condition, it’s essential to know how to take it apart for thorough cleaning and maintenance. This guide will take you through the process step by step, ensuring you tackle the task safely and efficiently.

Tools Required
Before you start, gather the necessary tools to streamline the process:
– Flathead and Phillips screwdrivers
– Needle-nose pliers
– A small container for screws
– Clean cloths or paper towels
– Mild soap and warm water
– Food-grade lubricant
Having these tools ready will ensure a smooth and efficient disassembly process.
Safety Precautions
Safety should be the top priority when taking apart any electrical appliance, including your KitchenAid mixer. Start by unplugging the mixer to eliminate any risk of electric shock. Make sure your workspace is clean, dry, and well-lit. It’s also advisable to wear protective gloves to avoid cuts or scrapes from sharp components and electrical parts. Lastly, keep the user manual handy for reference during reassembly.
Disassembling the Mixer Head
Let’s begin the disassembly process by focusing on the mixer head. It’s the most accessible part and houses essential components.
-
Remove the Bowl and Attachments: Start by detaching the mixing bowl and any attachments like the whisk, dough hook, or paddle.
-
Unscrew the Top Housing: Using a Phillips screwdriver, remove the screws securing the top housing of the mixer head.
-
Lift the Top Housing: Carefully lift the top housing to expose the internal components. Place it aside in a safe spot to avoid damage.
-
Inspect Internal Parts: Check for any visible signs of wear or damage, such as frayed wires or worn-out gears, which will need attention during reassembly.
Accessing Internal Components
Now that you have the mixer head disassembled, we move to access the mixer’s internal components to perform detailed cleaning and maintenance.
Removing the Back Cover
To access the internal components fully, the back cover needs removal.
-
Locate the Screws: Identify the screws securing the back cover, typically found at the rear of the mixer.
-
Unscrew the Back Cover: Use the correct screwdriver to remove these screws. Place them in a small container to keep them safe together with other screws.
-
Lift Off the Back Cover: Carefully lift the back cover, exposing the wiring and internal layout of the mixer.
Understanding the Wiring and Internal Layout
Knowing the layout of the internal components helps perform thorough maintenance.
-
Take Photos for Reference: Before making any changes, take photos of the wiring and layout to assist during reassembly.
-
Inspect Wiring and Components: Check for any loose or damaged wires and ensure gear mechanisms are intact. This helps identify areas needing cleaning or parts that require replacements.
Cleaning and Maintenance Tips
Maintaining the internal cleanliness and proper lubrication of your KitchenAid mixer extends its life and improves performance.
Cleaning Above and Under the Motor Housing
-
Wipe Down Components: Use a clean cloth dampened with mild soap and water to wipe down visible components above and under the motor housing.
-
Remove Caked Residue: For tougher residue, gently scrub with a soft brush to avoid damaging the surfaces.
-
Dry Completely: Ensure all components are thoroughly dried before proceeding to the next step.
Lubricating Essential Parts
-
Identify Moving Parts: Locate gears and other moving parts requiring lubrication.
-
Apply Food-Grade Lubricant Sparingly: Use food-grade lubricant on these parts, avoiding excessive application to prevent attracting dust and debris.
-
Reassemble Components: Before reassembling, ensure all lubricated parts are properly seated and clean.

Reassembling the Mixer
Now that the mixer is clean and well-lubricated, it’s time to put everything back together.
Step-by-Step Reassembly Instructions
-
Replace Back Cover: Position the back cover and secure it with its screws, following the reverse order of removal.
-
Position Top Housing: Fit the top housing back onto the mixer head, aligning any tabs or slots correctly.
-
Insert and Tighten Screws: Carefully insert and tighten the screws to secure the top housing, ensuring it is snug and secure.
Testing After Reassembly
-
Reconnect to Power: Plug the mixer back in.
-
Test Functions: Turn on the mixer and cycle through its speeds to ensure it operates smoothly without any unusual noises or issues.

Common Issues and Solutions
Despite following the process meticulously, problems can still arise. Here are some common issues and solutions to consider.
Troubleshooting Common Problems
-
Mixer Won’t Turn On: Double-check power connections and recheck the wiring layout against your reference photos.
-
Unusual Noises: Inspect gears for correct placement and ensure there are no foreign objects causing obstruction.
When to Seek Professional Help
If your mixer exhibits persistent issues or you identify a significant internal problem, such as a damaged motor, it’s best to consult a professional. KitchenAid offers service centers, and many local repair shops can assist with specialized repairs.
Conclusion
Disassembling a KitchenAid mixer may seem daunting, but with the right tools and a step-by-step approach, it’s achievable. Regular maintenance ensures your appliance remains reliable and performs optimally. Following this guide can help extend the lifespan of your KitchenAid mixer and maintain its excellent functionality.
Frequently Asked Questions
How often should I disassemble my KitchenAid mixer for cleaning?
Disassemble and clean your KitchenAid mixer every few months with regular use, or more frequently if you notice performance issues or hear unusual noises.
What type of lubricant should I use?
Use food-grade lubricant specifically designed for kitchen appliances to ensure safety and optimal performance of the mixer.
What should I do if my mixer is still not working after reassembly?
If your mixer is still not functioning correctly, recheck your assembly steps, wiring connections, and ensure all parts are securely in place. If problems persist, contact a professional repair service.
