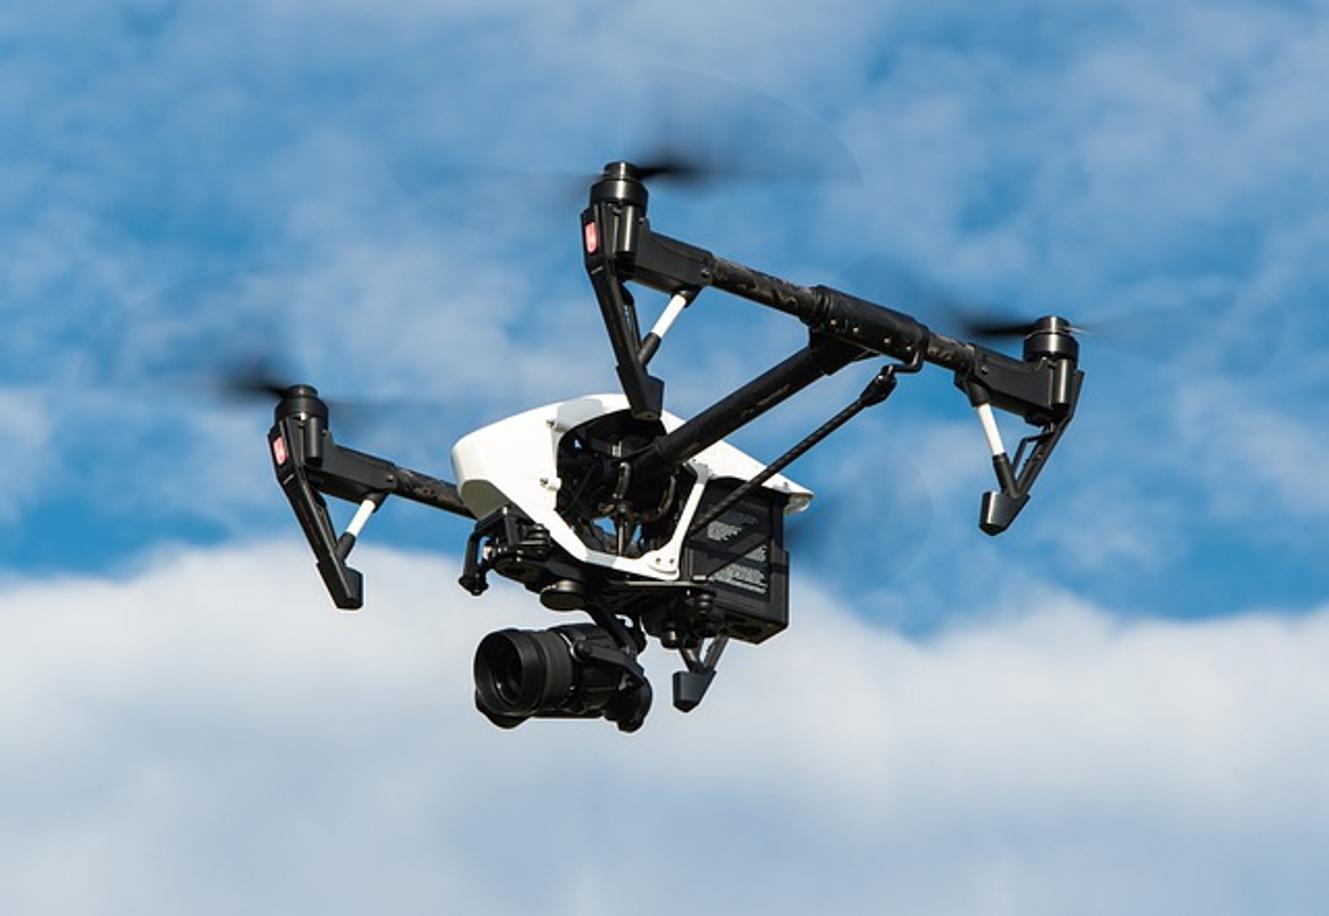
Introduction
Building a drone from scratch can be an incredibly rewarding experience. Not only does it provide a fascinating challenge, but it also gives you insight into the intricacies of flight technology. This guide will walk you through the entire process, from selecting components to taking your first flight. Whether you are a hobbyist or an aspiring engineer, this comprehensive guide is designed to help you build a fully functional drone.

Choosing Your Drone Components
Before any assembly begins, you need to pick your components carefully. The components you choose will largely dictate the performance and capabilities of your drone.
Selecting the Right Frame
The frame is the foundation of your drone. It holds all the other components together and can significantly impact flight characteristics. There are various materials to consider, such as carbon fiber, which offers strength and low weight, or aluminum, which is more cost-effective but heavier.
Motors and Propellers
Motors are crucial for generating the lift required for flight. You’ll need four motors for a basic quadcopter setup. Pair these motors with the right propellers to optimize performance. Propeller size and pitch directly affect stability and power, so choose according to whether you prioritize speed or endurance.
Batteries and Power Distribution
The battery is the lifeblood of your drone. Lithium Polymer (LiPo) batteries are popular due to their high energy density and power output. Choose a battery that matches the power requirements of your motors. Additionally, you will need a power distribution board to distribute power from the battery to the motors and other components.
Flight Controllers
The flight controller acts as the brain of your drone, managing its stability and controlling the motors. Modern flight controllers come with built-in sensors such as gyroscopes and accelerometers to help maintain equilibrium. Ensure it is compatible with your other electronic components.

Assembling the Drone
Once you have all your components, the assembly process begins. This step-by-step section will guide you through assembling your drone.
Assembling the Frame
- Start by arranging the frame’s parts.
- Connect the arms to the central body.
- Secure each component using screws or brackets provided in your frame kit.
Installing Motors and Propellers
- Attach the motors to the designated points on the frame’s arms.
- Secure them using screws but avoid overtightening.
- Mount the propellers onto the motors. Ensure they are oriented correctly according to the motor’s rotation direction.
Connecting the ESCs and Flight Controller
Electronic Speed Controllers (ESCs) are vital for controlling the motors. Connect each ESC to its respective motor.
1. Solder the ESCs to the power distribution board, ensuring proper voltage regulation.
2. Connect the flight controller to the ESCs using signal wires.
3. Follow the specific instructions of your flight controller to ensure correct wiring.
Wiring Everything Together
- Double-check all connections, ensuring there are no loose wires.
- Use zip ties or clips to neatly bundle and secure wires, preventing them from interfering with moving parts.
- Attach the battery and secure it in place with Velcro straps or similar fastening mechanisms.
Software Setup and Calibration
After assembling the physical parts, your drone requires software configuration.
Installing Flight Control Software
Use the manufacturer’s recommended software or opt for popular options like Betaflight or Cleanflight.
1. Connect your flight controller to your computer via USB.
2. Download and install the control software.
3. Follow the setup wizard to configure basic settings.
Calibrating the Drone
Calibration ensures your drone’s sensors are functioning accurately.
1. Run the calibration process through the software interface.
2. Calibrate the accelerometer and gyroscope by following on-screen instructions, which usually involve placing the drone on a flat surface and rotating it in specific orientations.
Configuring the Remote Controller
- Bind your remote controller to the flight receiver.
- Test all switches and joysticks in the software interface to ensure proper communication.
- Assign channels for throttle, pitch, yaw, and roll.
Testing and First Flight
With everything set up, it’s time to test your drone.
Pre-Flight Checklist
- Double-check all screws, wires, and connections.
- Ensure the battery is fully charged.
- Confirm all software settings and calibrations.
Performing the First Flight
- Place your drone in an open, obstacle-free area.
- Gradually increase the throttle.
- Observe its behavior and make minor adjustments to the trims on your remote controller if needed.
Initial Troubleshooting
If issues arise, consult your flight control software’s troubleshooting guide.
1. Common issues may include imbalanced propellers, improper motor rotation directions, and calibration errors.
2. Make adjustments and try again.

Conclusion
Building a drone from scratch is an exciting and fulfilling endeavor. This guide provides a straightforward roadmap to get your drone in the air. As you gain experience, you’ll find endless possibilities for customization and improvement.
Frequently Asked Questions
What are the basic components needed to build a drone?
The basic components include a frame, motors, propellers, electronic speed controllers (ESCs), a flight controller, a power distribution board, and a battery. Additionally, you’ll need a remote controller and a receiver.
How long does it take to build a drone from scratch?
The time required can vary based on your experience and the complexity of the drone. Beginners might take several days, including time for learning and troubleshooting, while experienced builders can complete it in a few hours.
Can I build a drone without any prior experience?
Yes, you can build a drone without prior experience. However, it will require patience and a willingness to learn. Numerous online resources can guide you through each step, making the process accessible to beginners.
